“For the things we have to learn before we can do them, we learn by doing them.”
Aristotle
Water bath canning can be quite intimidating for a beginner who doesn’t have someone to teach them. It used to be part of life but in modern days, a lot more people rely on buying their pantry items from the grocery store. The convenience of that has almost erased the knowledge of how to preserve our own foods and the ability to fill our own pantries with our own homegrown foods and know exactly what we are eating.
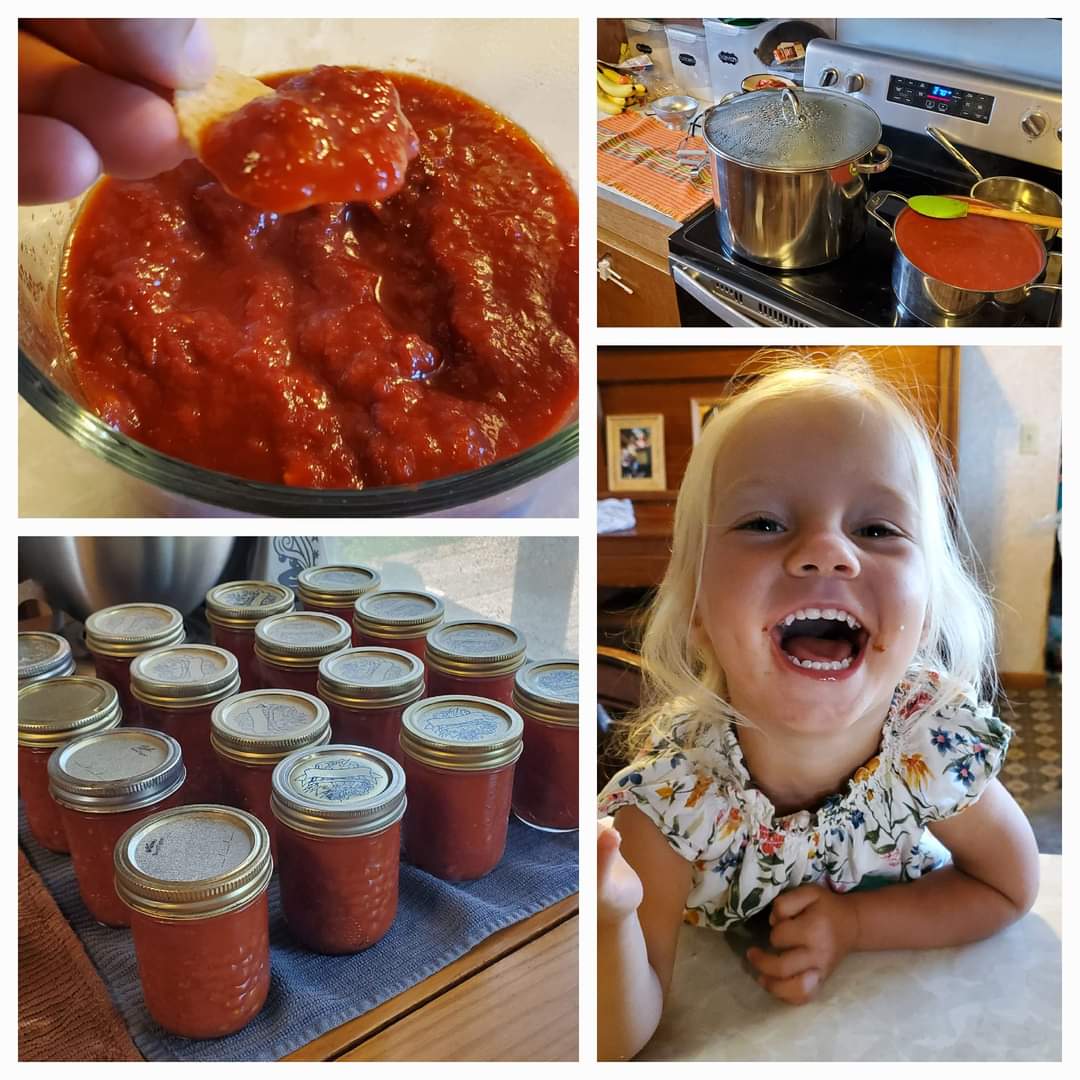
At its most basic, canning is putting properly prepared food into sterile jars and heat-processing the jars at a temperature hot enough and for long enough that it kills bacteria and other microorganisms within the food. There are two methods of canning suitable for doing at home: water bath canning and pressure canning. For the purpose of this post, we are going to cover water bath canning. This method is used for canning high-acid foods such as jams, jellies, salsas, pickles, and relish.
In order to get started you need a few essential items:
- Water bath canner: large pot with a lid and wire rack that sits inside.
- Glass, mason-style jars with two-piece metal lids designed specifically for canning.
- Canning funnel
- Jar lifter
- Ladle
These items aren’t strictly necessary but I find them useful:
- Headspace and bubble tool: This is a handy tool that provides a quick and accurate measure of your headspace (space between the food and the top of the jar) and doubles as a tool to release any trapped bubbles in your food.
- Magnetic lid wand to lift your hot lids out of the water.
Be sure that none of your tools are cast iron or aluminum. Stainless steel is best. That is all you need! If you don’t have anything at all, there are Beginner Canning Kits available which is what I ordered when I got started.
You CAN do this! The best way to learn is by doing so let’s go!
The best way to do this is to take the time to get everything ready before you begin so you can work without interruption or stress. Gather your jars, new lids (always use new lids), and screw bands. Make sure all of your jars, lids and bands are in good condition and clean. Set out your canning tools (jar lifters, canning funnel, ladle, headspace/bubble tool, small cloth or paper towel for wiping rims, pot holders, and a large dish towel or cooling rack.
Place your canner on the stove and set your clean jars on the rack in the bottom of the canner. Fill the canner about two-thirds full with water, allowing the jars to fill with water and be completely submerged. Put the canner lid on and turn the burner on high to bring the water to a boil.
While the canner is coming to a boil, prepare your lids. Put your clean lids in a small pot, covering them with a couple of inches of water. Place the pot on the stove and bring the water and the lids up to a simmer. This softens the sealant around the edge of the lids. Don’t bring this to a boil, just keep it at a low simmer until ready to use. Place your bands nearby so they are easy to reach when you need them.
Once the water in the canner reaches a rolling boil, start timing and allow boiling to continue with the lid on for 10 minutes. This will sterilize the jars that are in the canner. Once your jars are sterilized, you can turn the heat down to a low simmer and let the canner sit with the lid on until you are ready to fill your jars. The goal is to keep the jars and the water hot until you’re ready to fill the jars and process them.
*Note: Adjust for Altitude!
At sea level, water boils at 212*F, but at higher altitudes, water boils at lower temperatures. Additional processing times are necessary to compensate for this. Instructions in this post and recipes are written for elevations from sea level up to 999 feet, but if you live at higher elevation, simply add 1 extra minute of processing time for every 1000 feet above sea level.
While your jars are sterilizing, you can begin to prepare the food you will be canning. If you are making a jam or jelly, I like to use Pomona’s Pectin so I can focus on the flavor of the fruit and not sugar.
Did you know? Most commercially available pectins require 5-9 cups of sugar per batch, resulting in jams that are 55-85 percent sugar. Pomona’s on the other hand, jells fruit with truly low amounts of sugar, or any other sweetener, giving you more intense fruit flavor – and keeping you from lapsing into sugar shock.
Pomona’s Pectin doesn’t just allow for low-sugar recipes but also for alternative sweeteners to be used such as honey or maple syrup, or even an all-fruit jam with no added sweeteners at all. If you are using Pomona’s Pectin, it is time to prepare your calcium water and ingredients for your jam or jelly. If you want to use this very versatile pectin, I highly suggest the book, Preserving with Pomona’s Pectin. This not only breaks down how to use it and provides numerous lovely recipes, but the box of Pomona’s Pectin also comes with an insert that explains how to customize your own canning recipes.
Follow your recipe’s instructions for whatever you are going to can, whether that is a jam, jelly, salsa, pickled veggies, or relish. Once your food is done, it’s time to get it in the jars. It is important that both the food and the jars are hot when filling the jars so you’ll want to move promptly to keep everything from cooling off. Here is a step-by-step:
- Take the lid off the canner. Use the jar lifters to remove one hot jar at a time, dumping the water out of the jar and back into the canner as you go. Place hot, empty jars on a clean dish towel or cooling rack on the counter. No need to dry the jars. Once all the jars are removed, place the lid back on the canner and make sure the burner is on high so the water can return to a boil while you’re filling your jars.
- Using the ladle and canning funnel, ladle the hot food into each jar, being careful not to overfill the jars. If you need to pick up or move the jars, don’t forget to use the pot holder – the jars will be HOT!
- Stick your bubble freer tool down into the jar and run it around the side of the jar to release any trapped air bubbles if necessary and then use the headspace tool to measure the headspace of each jar. The headspace is the distance between the top of the food and the top rim of the jar. Your recipe will tell you what your headspace should be. Use a small spoon to adjust headspace if necessary.
*Note: If you don’t have enough food to completely fill your last jar, simply skip processing that jar and store it in the refrigerator to enjoy right away.
- Carefully wipe the rim of each jar with a clean cloth or paper towel. Ensuring there is no food between the jar and the lid will help achieve a good seal.
- Using the magnetic lid wand, remove the lids one at a time from the simmering water in the small pot. Again, no need to dry them. Center a lid on top of each jar. Gently place a band down over each lid and screw the band on to the jar until you meet resistance. Then tighten just a little bit more. Fingertip tight. Do not over tighten the lids, as air needs to escape from the jar during processing.
- Remove the lid from the canner and using the jar lifters, gently lower each jar down into the boiling water and place it on the rack in the canner. Be careful not to let the jars tip over and arrange them so they are not touching one another or the sides of the canner. There should be at least 1 or 2 inches of water covering all of the jars so the water can circulate freely around all parts of every jar during processing.
- After you’ve loaded the canner, place the lid on it and bring the water to a rolling boil. Once it is at a rolling boil, you can start your processing time. Follow your recipe for processing time.
- Once your processing is complete, turn off the heat, and allow the canner and jars to sit for 5 minutes.
- After the 5 minutes, use the jar lifters and carefully lift the jars from the canner one at a time, keeping them upright at all times. Place them on a dish towel or cooling rack on the counter with space between each jar. Do not handle the jars once you have placed them down for at least 12-24 hours. This helps ensure a good seal.
- Once your jars have cooled for at least 12 hours, check each jar for a good seal by pressing the center of each lid. The button should be depressed with no give when pressed on. If it gives, you do not have a proper seal which means you can either re-process it (very labor intensive) or you can put it in the refrigerator for eating right away (definitely the simplest option). I have actually never had one not seal properly yet but I would definitely choose to just eat the unsealed food rather than start from step one for such a small amount of food.
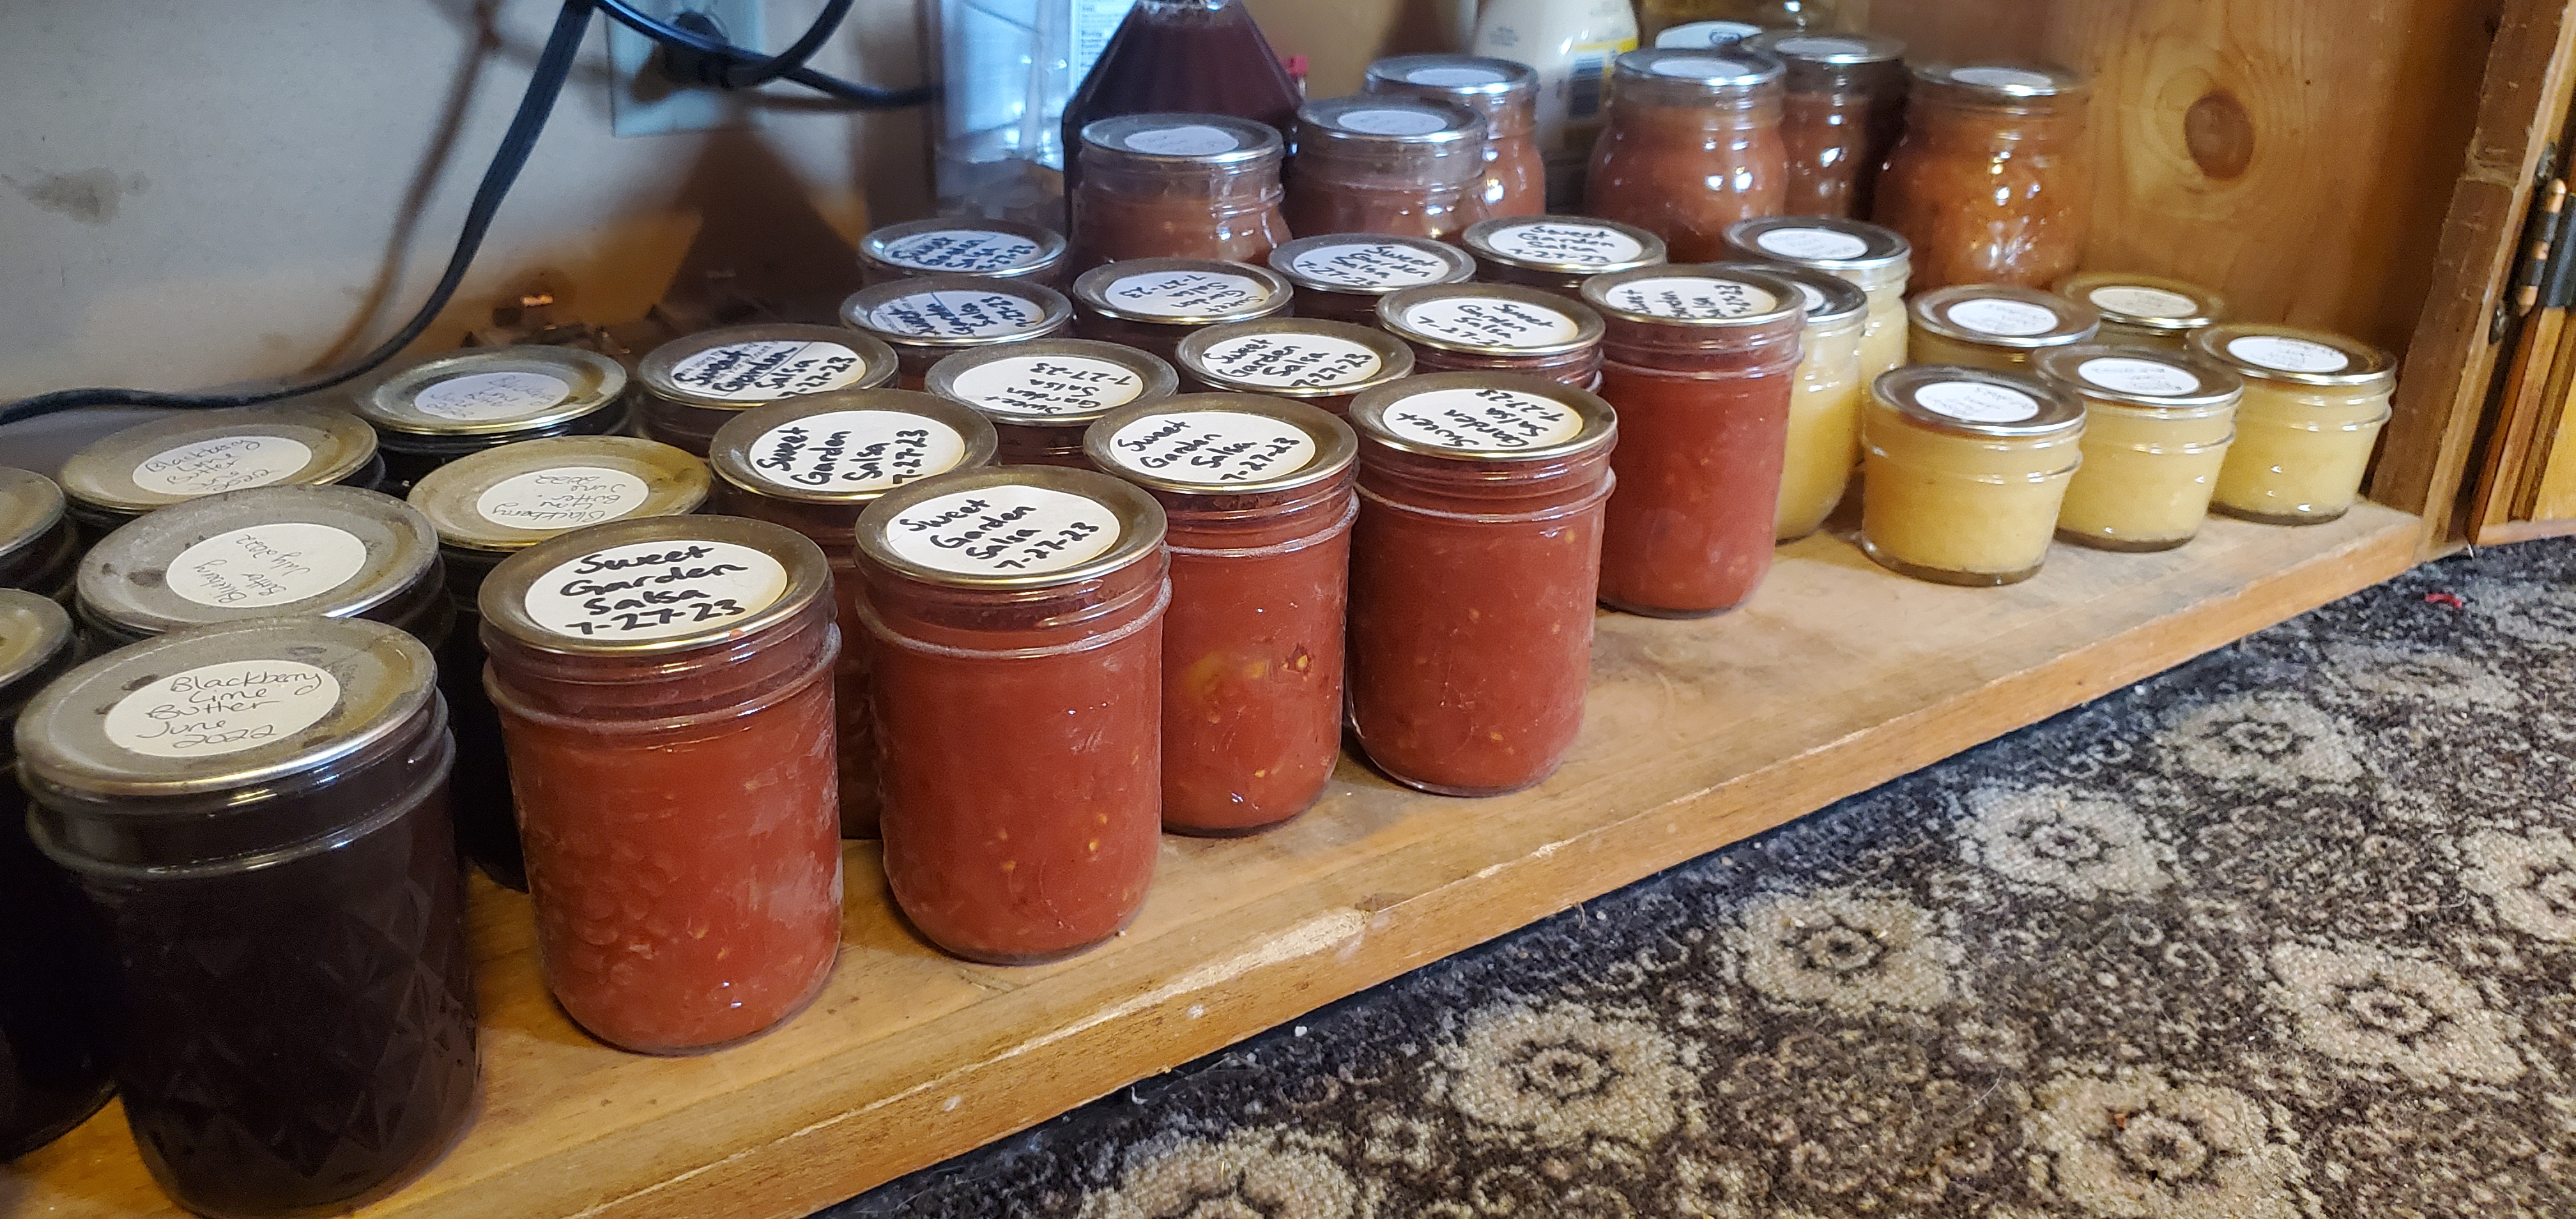
- After confirming your jars are sealed, remove the bands, wipe the jars off, dry them, label them, and store them.
Just a few more notes: Before you open up a jar that has been stored, check that the button is still depressed and that the lid doesn’t easily pull off with your fingers. Inspect the food for any signs of spoilage. Again, I have never had a jar of home canned food go bad but seal failures or spoilage can occur so you should always check. A butter knife is a good tool to use to pry the lids off of a well-sealed jar. Once a jar is opened, store any leftovers in the refrigerator, capped with a lid and a band.
I hope this has helped to break down the process of water bath canning to make it less intimidating. My advice is to just do it, taking it one step at a time. It is easier than you think and very satisfying to be able to stock your own pantry.
Check my Recipes page for some of my favorite canning recipes!
Have you canned your own food before? What are some of your favorite things to can or what do you want to learn how to can? Tell me in the comments!

Leave a comment and let me know what you think!