“Soap is to the body what laughter is to the soul.”
– Yiddish Proverb
Let me start by saying that all soap is made with lye. Any “soap” not made with lye at some point is, in truth, a synthetic detergent. Lye (sodium hydroxide) is a harsh chemical that can cause chemical burns when handled incorrectly. However, don’t let this scare you; when done correctly, no lye remains in a finished bar of soap. The process of saponification (chemical reaction between lye and oils) transforms the ingredients into a wonderful (and safe!) soap.
There are many ways to make soap but my favorite is making soap using 100 percent goat’s milk rather than water in my recipes. The result is a creamy, nutrient-rich bar that is gentle on the skin, packed with vitamins, and full of moisturizing properties. It does take extra caution so you don’t curdle or scorch the milk when adding the lye but it is worth the end result, in my opinion (and I share a special tip to avoid the curdling and scorching). Whether you own your own goats or are simply interested in natural skincare, learning to make goat’s milk soap at home can be rewarding and fun!
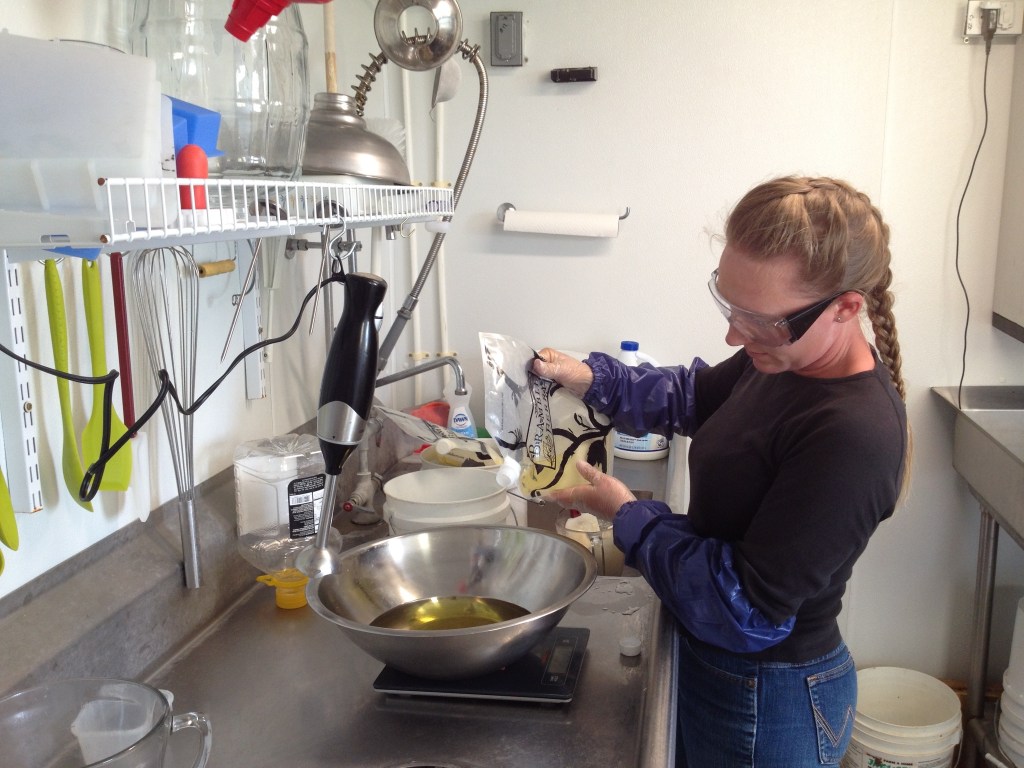
First, make sure you have a well-ventilated area to work in that is free from children and pets and then gather all the ingredients and equipment you will need:
- Rubber gloves
- Safety glasses
- Heat-safe glass, stainless steel, or heavy-duty plastic containers and utensils (do NOT use aluminum or tin which reacts with lye and can produce dangerous fumes) – I have several large glass mixing bowls, a large stainless steel bowl, and use silicone spatulas.
- Immersion blender
- Digital scale
- Lye
- Oils and butters in your recipe
- Fragrance or essential oils of your choosing, optional
- Silicone or wooden (with silicone liner) soap mold
- Goat’s milk (TIP: freeze the goat’s milk in small pieces – I find a silicone mold works well for this but something like an ice cube tray or similar would work as well)
Important notes:
-Always use a lye calculator if you aren’t using a tested recipe (however, I suggest saving the development of your own recipes for later, once you have a few batches under your belt).
-Always add lye to your liquid (never pour liquid into lye).
-Wear your PPE (goggle, gloves and preferably long sleeves).
-Measure every ingredient by weight, not volume.
-Have dedicated soap equipment and utensils; never use the same bowls, blender, utensils, etc for food once you’ve made soap with them.
Here are the general steps that I use when I make a simple goat’s milk soap:
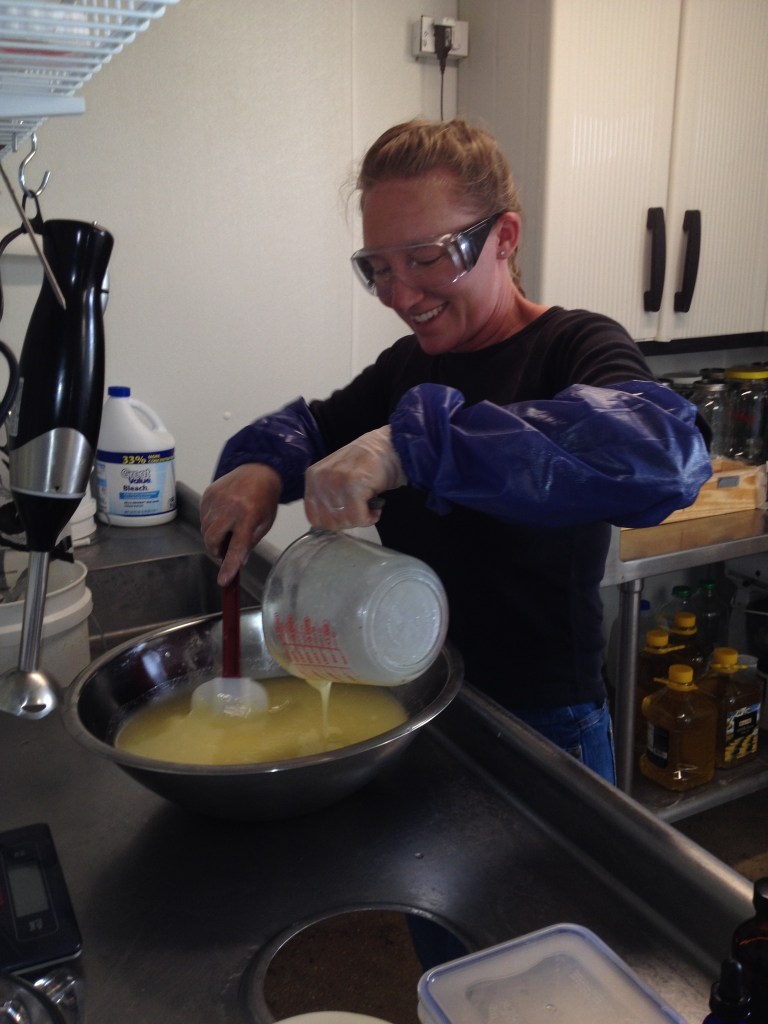
- Place a bowl on your scale and tare it out. Add the correct amount of frozen goat’s milk and then tare your scale out again. Measure out the correct amount of lye into your frozen goat’s milk and then carefully remove the bowl from the scale. Use a spatula to carefully stir the lye into the frozen goat’s milk. It will take some time for the lye to melt the goat’s milk but it will get hot fast once it starts melting so make sure to stir it frequently.
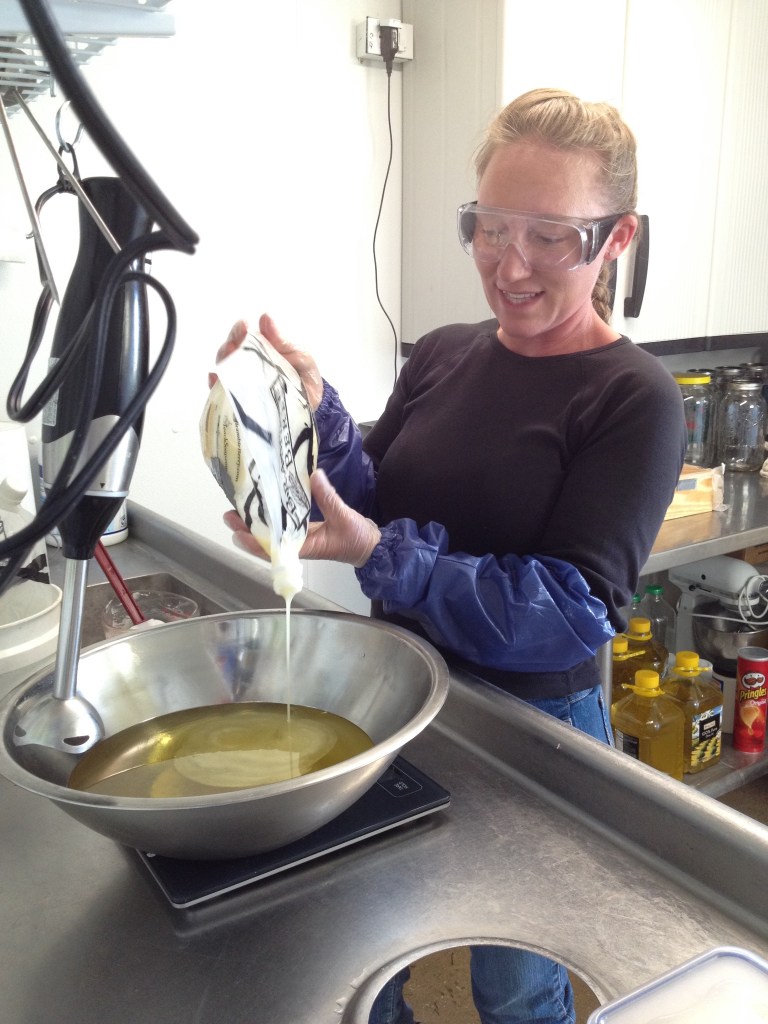
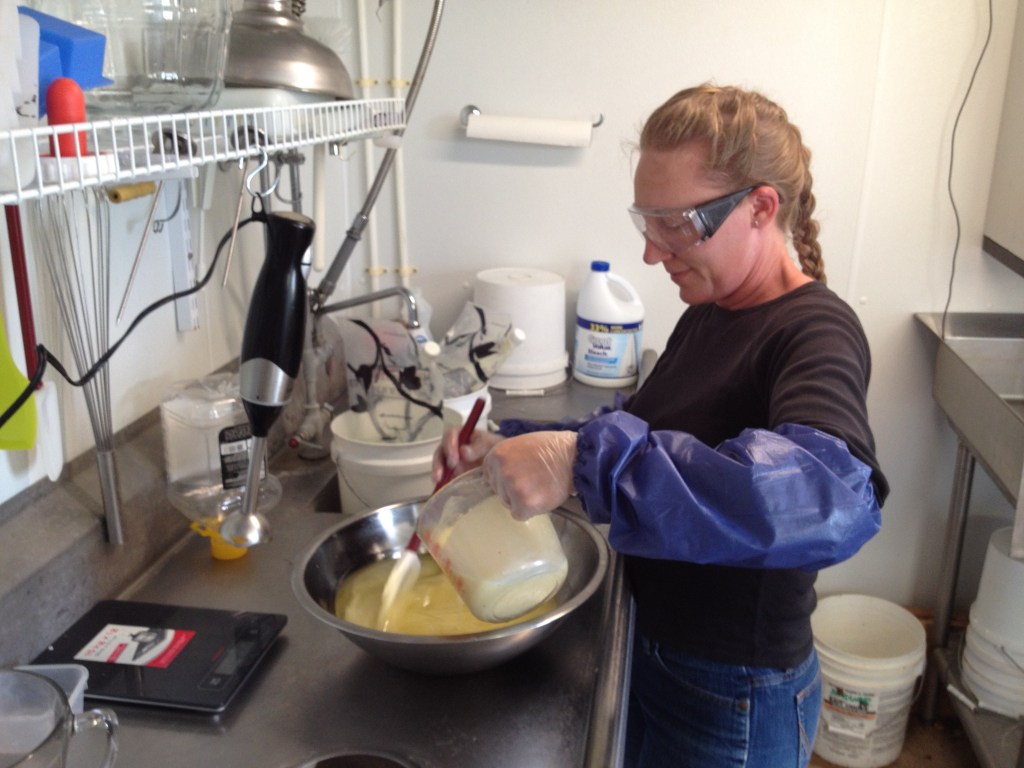
- In between stirring, begin to measure out your oils and butters in a separate bowl. More solid oils and butters will need to be melted. You can measure them solid and then melt them, or you can melt them and then measure them out. Don’t forget to stir your lye liquid throughout this step. Combine all of your oils and butters in a big bowl and set aside.
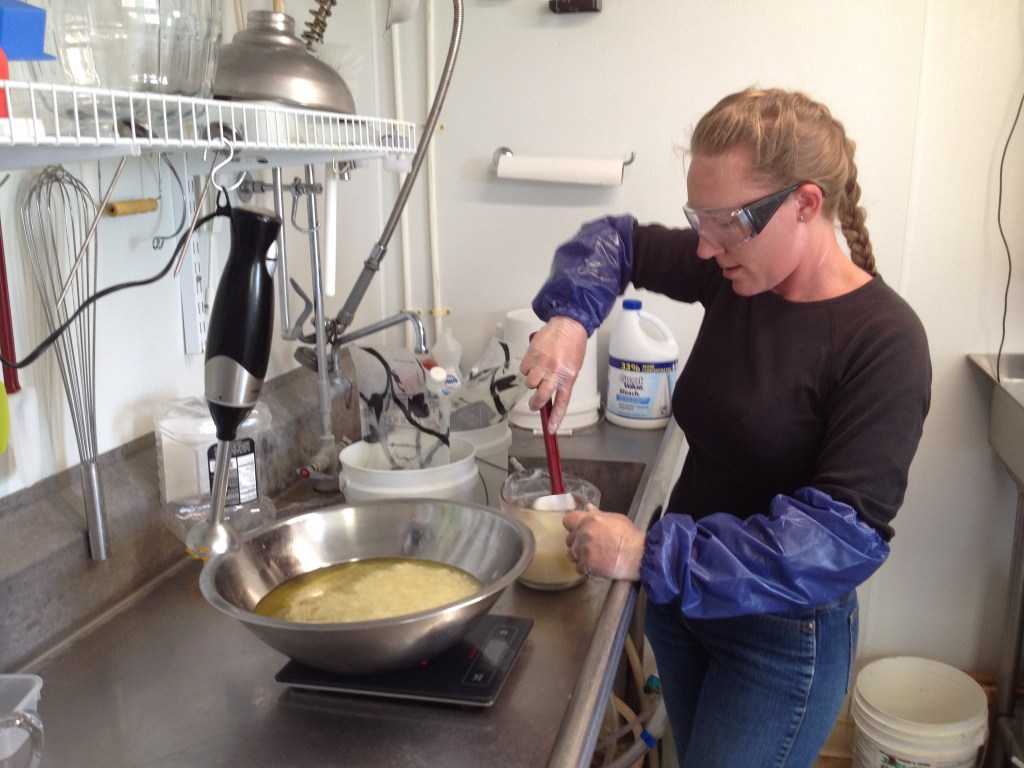
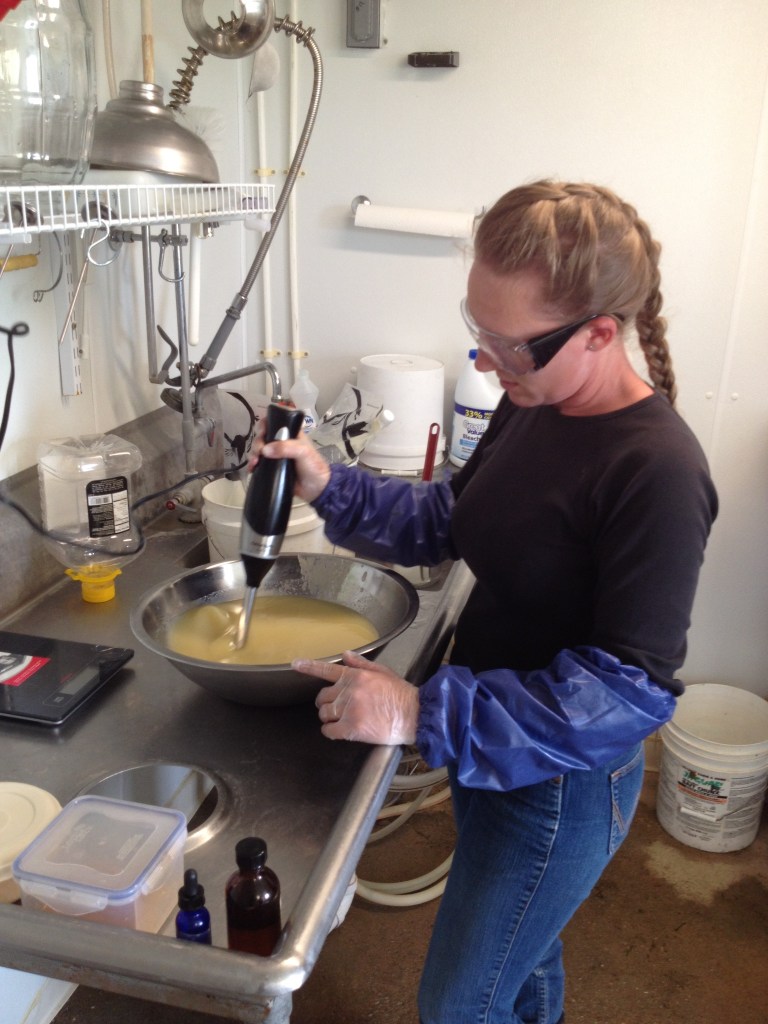
- Once your goat’s milk is completely melted by the lye, slowly stir your lye mixture into your oil mixture. Using an immersion blender, pulse and stir until the mixture emulsifies (no longer separates). Once it is emulsified, you can add your fragrance if you desire. Just pop your bowl back on the scale and add the correct amount.
- Use your immersion blender to bring the mixture to trace. Trace means the mixture will thicken and you will be able to see a faint trail if you drizzle some off of your spatula onto the surface.
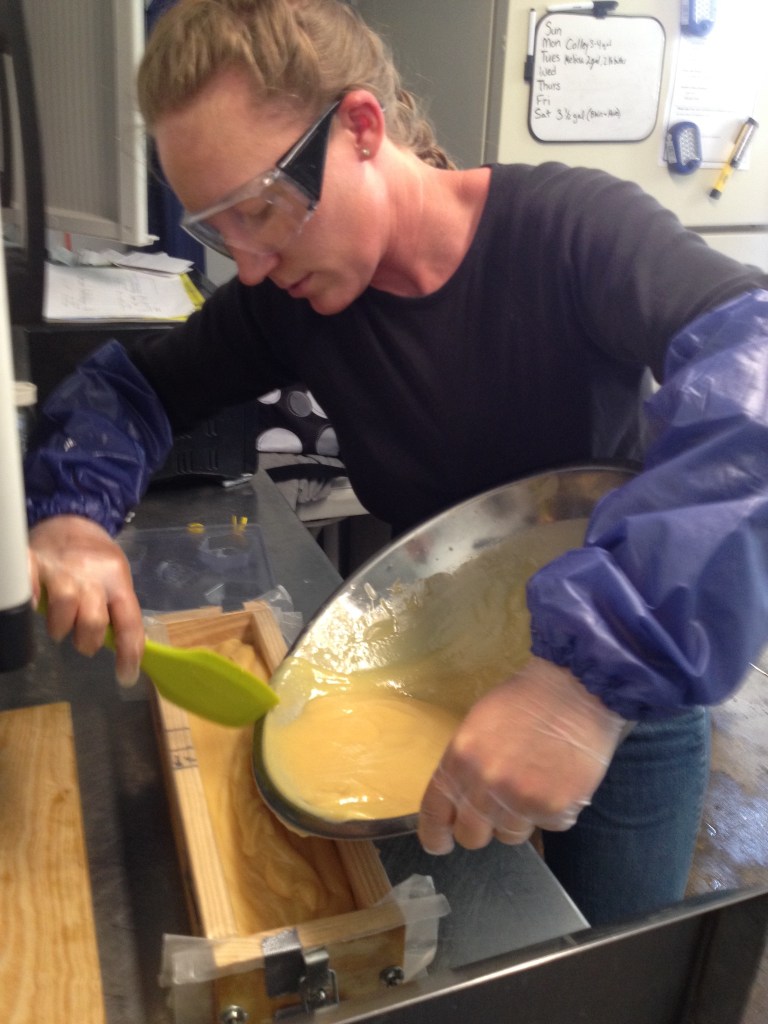
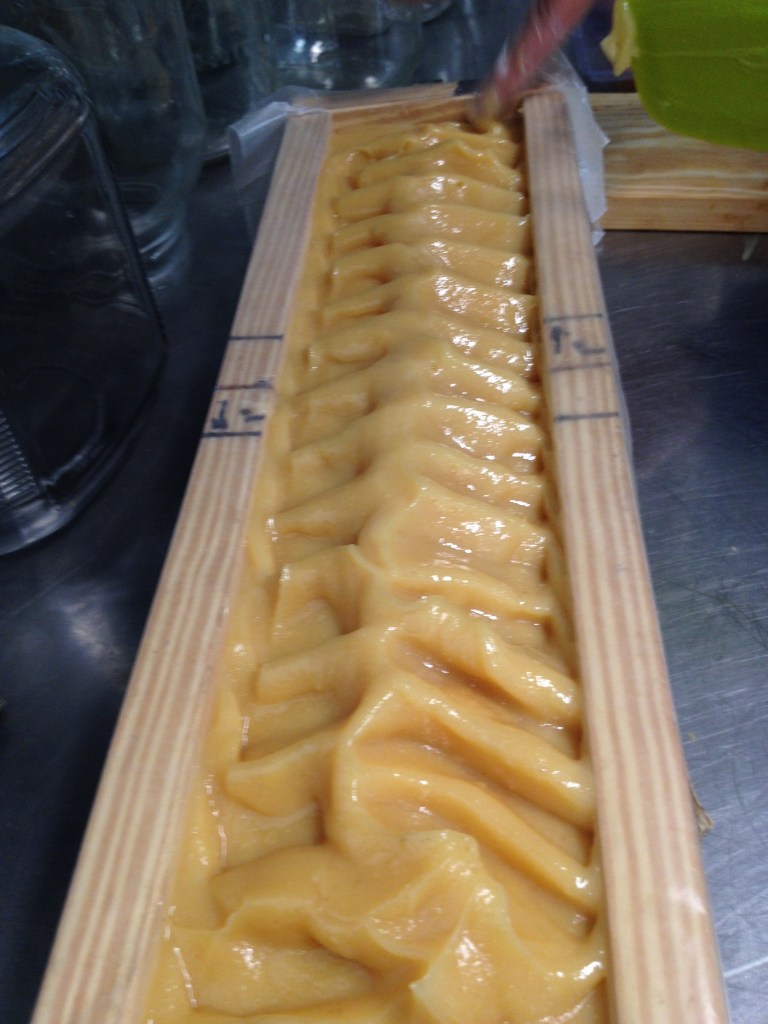
- Once you reach trace, you are ready to pour into your molds. Pour into molds and cover it. Let it rest at room temperature for at least 24-48 hours. After this time, it can be unmolded. I typically use large loaf molds so they then need cut into bars. I unmold after 24-48 hours and let the loaf sit out of the mold until it is firm enough to cut without damaging the bars – usually a few extra days.
- I cut my soap loaves into one inch thick bars. Once your bars are cut, let them cure for 4-6 weeks in a ventilated, dry area. This allows excess water to evaporate and produces a harder, longer-lasting bar.
Note: the fancier soaps with additives and/or swirls and patterns will obviously have more steps. Soaps can be quite complex but I do suggest starting simple such as described above and then working your way up to more additives and swirls, etc if you desire. However, sometimes simple is best!
Now. I am going to do something I never thought I would do. I have been making and selling goat’s milk soaps for many years and I have accumulated and developed a few closely guarded recipes that work really well for me. I have decided to share one of those recipes with you today. My best seller and personal favorite!
Basic Goat’s Milk Soap
This recipe is my most used and best seller. It makes a luxurious, moisturizing bar that behaves well and allows for all different kinds of additives and fragrances. It makes exactly the right amount for a 5 pound loaf mold.
Olive Oil – 28 oz
Coconut Oil – 10.5 oz
Palm Oil – 7 oz
Goat’s Milk – 15.1 oz
Lye – 6.3 oz
Fragrance/Essential Oil – 3 oz (optional)
Making goat’s milk soap may seem intimidating at first – especially when lye is involved – but with proper preparation and a bit of care, it can be a fun and rewarding craft. You will know exactly what you are using on your skin and you will feel the results. Whether you have your own goats or pick up fresh milk from a local farm, transforming these simple ingredients into something so useful and luxurious is an extremely fulfilling skill to learn.
With practice, you can gain confidence to experiment with additives, patterns, fragrances and more, creating bars that are not only useful but that reflect your personality and personal tastes. I have fun experimenting and trying new things – it keeps things interesting for me when I’m making hundreds of bars of soap.
So, gather your supplies, take a deep breath and enjoy the process. After all, there’s nothing quite like that first moment you hold a finished bar in your hands – made entirely by you.
Have you tried making goat’s milk soap before? Share your experience or photos in the comments – I’d love to see your creations!

Leave a reply to The Christmas Season: Cherishing the Season with Faith, Family, and Joyful Traditions – Radiant Roots Cancel reply