“Tell me and I forget. Teach me and I remember. Involve me and I learn.”
— Benjamin Franklin
If you spend any amount of time working with your hands—whether that’s tending livestock, gardening, wrangling energetic kids, or just living life outdoors—scrapes, bug bites/stings, minor burns, and dry skin are daily occurrences.
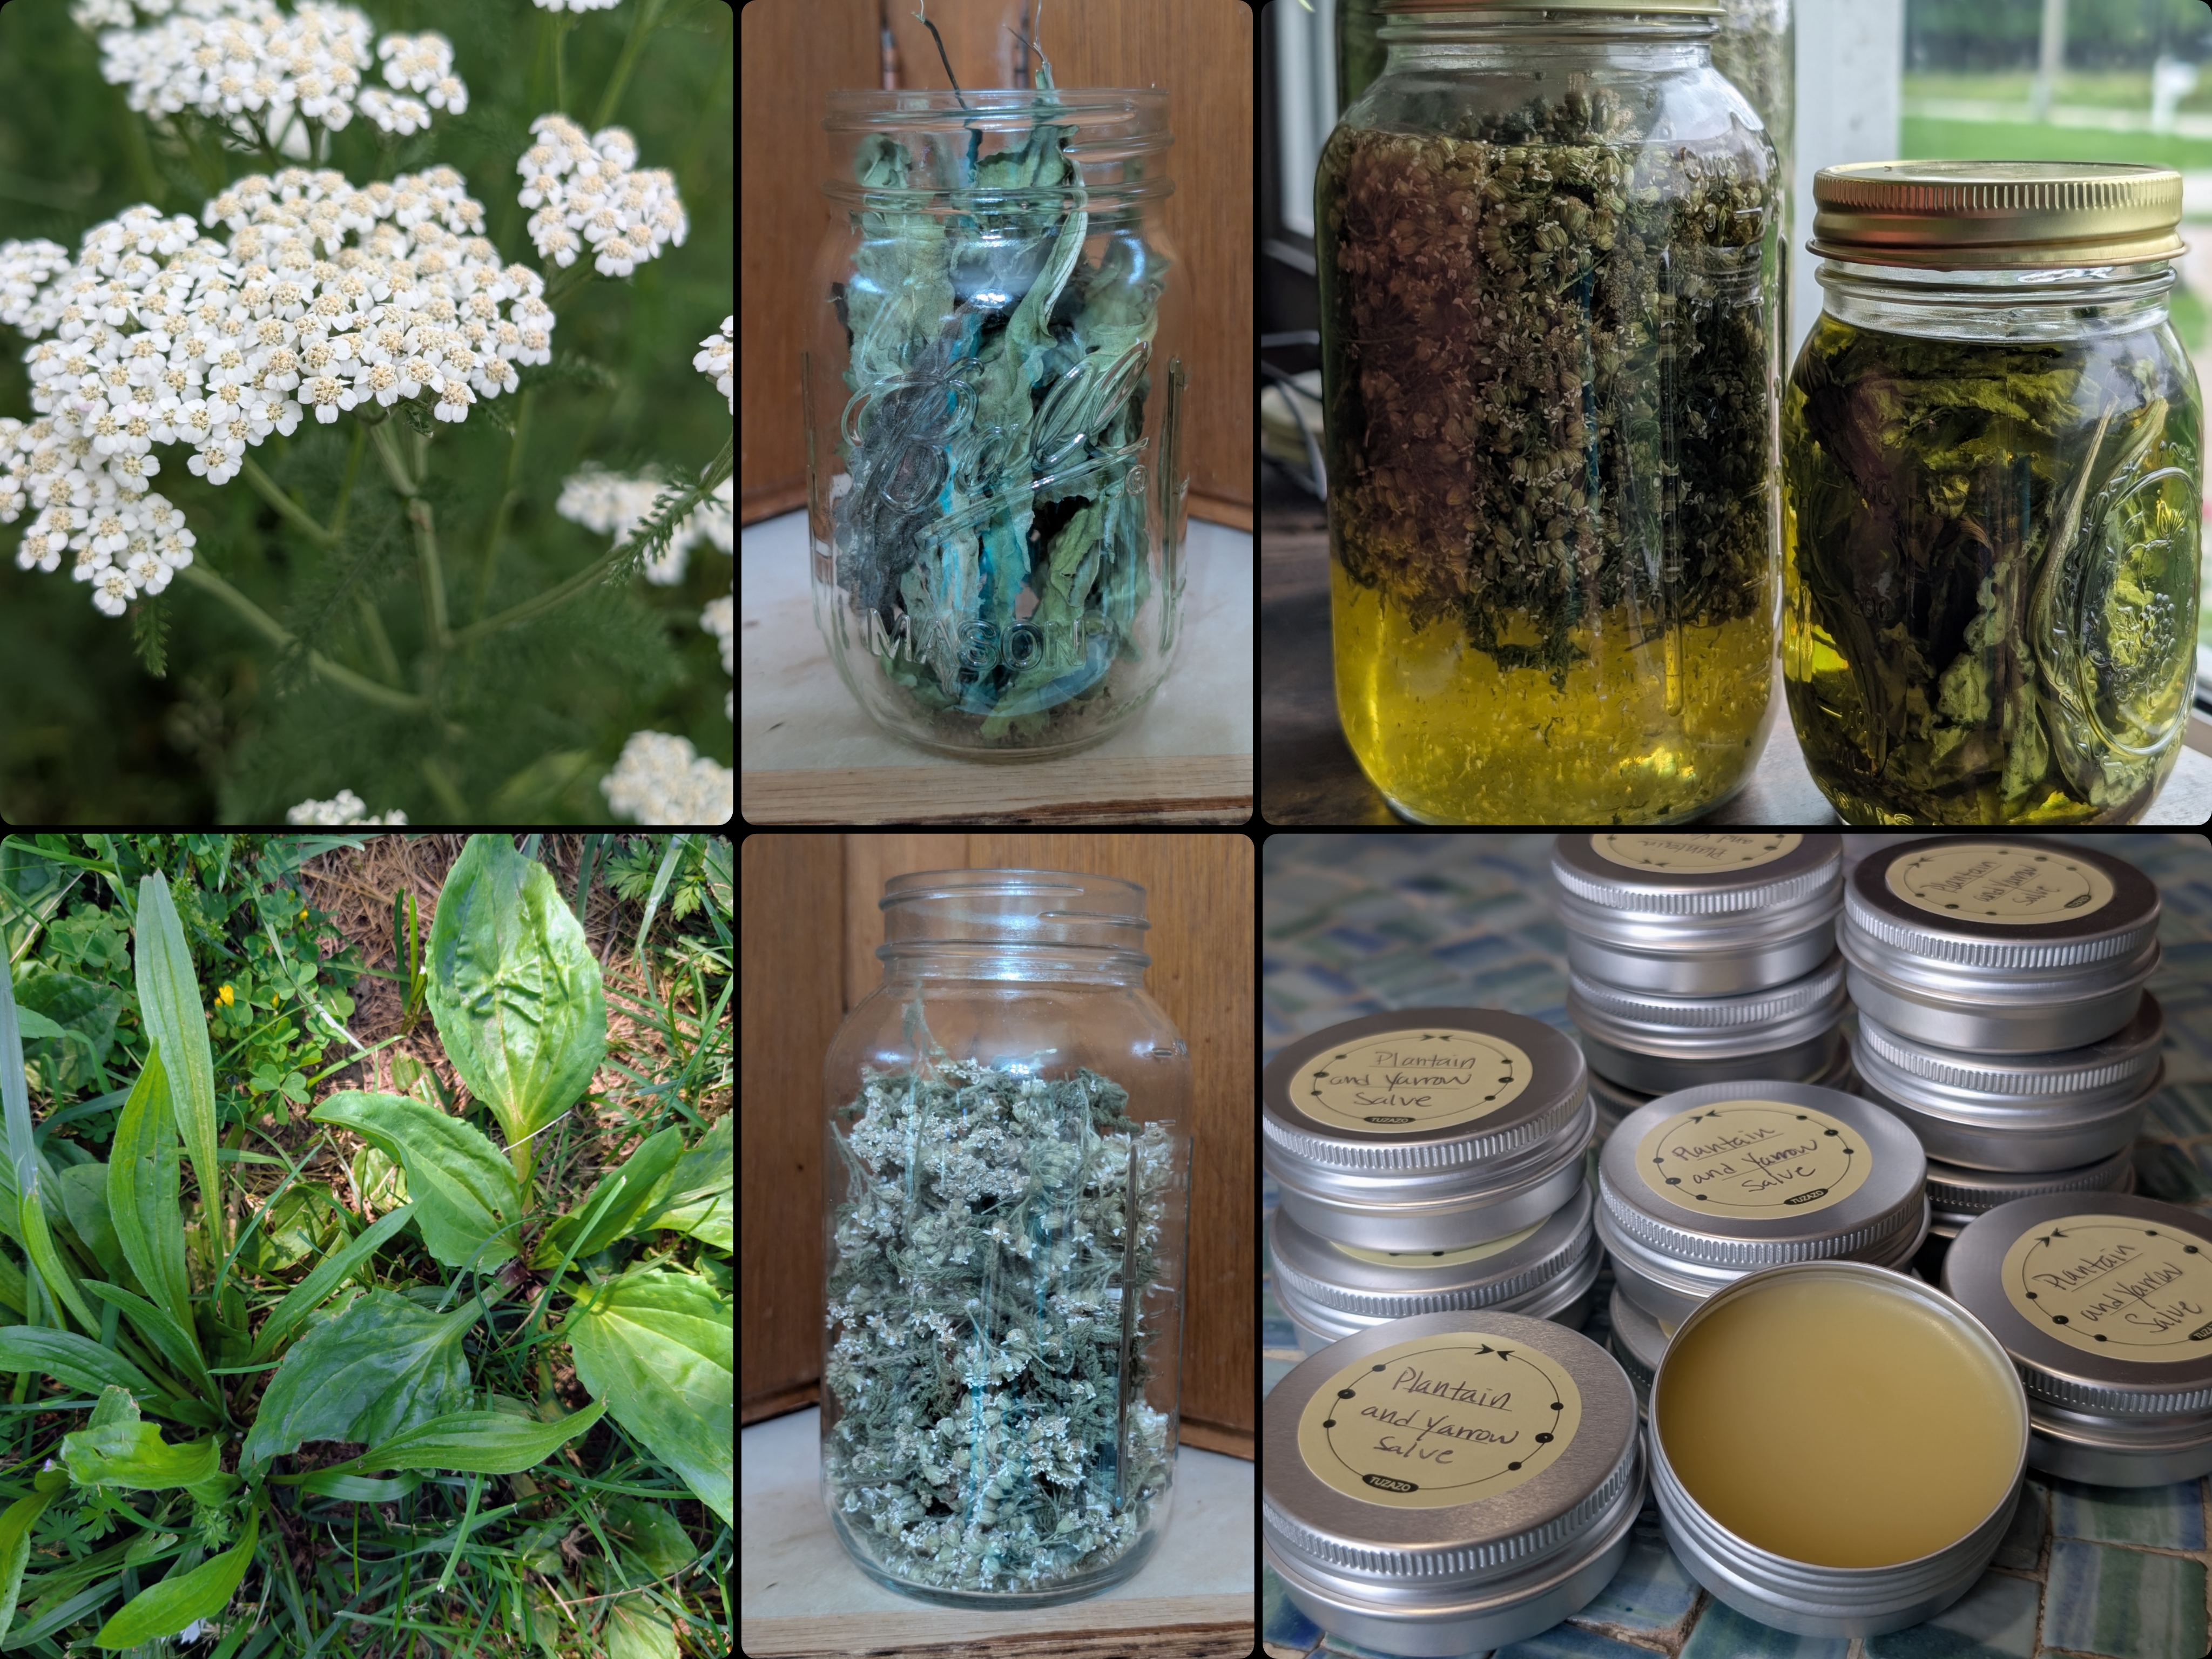
A few days ago, the kids and I gathered at the kitchen counter to whip up a fresh, big batch of our favorite homestead staple: Yarrow and Plantain All-Purpose Salve. They had been impatiently waiting for weeks for the herbs to solar infuse in our carrier oil and were thrilled when it was time to finish the salve!
This is one of those wonderful crossover projects where nature study, herbal tradition, practical life skills, math, and science meet. The kids love being part of the process and having a jar of herbal goodness sitting on the shelf makes all the little boo-boos of daily life easy to tend.
Why Yarrow & Plantain?
When it comes to wild plants, these two are absolute powerhouses and complement each other very nicely:
- Plantain (Plantago major / lanceolata): Often called “Green Band-Aid,” plantain is incredible for soothing irritated skin, taking the itch out of bug bites, and calming minor inflammation. (For a deep dive into how to find, identify, and use plantain, check out The Footprints of the Forager: An Introduction to Plantain.)
- Yarrow (Achillea millefolium): A classic herbal ally with a rich history of helping to soothe minor cuts, scrapes, and skin irritations while supporting natural skin recovery. (For more information on finding, identifying, and using yarrow, see previous post Wild Yarrow: History, Healing, and Hunting This Ancient Herb.)
The Other Player
- Natural Beeswax: More than just a thickener! Beeswax creates a breathable, protective barrier on the skin to lock in all that herbal goodness, while bringing its own natural antibacterial and anti-inflammatory benefits to the party.
Together, infused into a rich carrier oil and thickened with the natural beeswax, this creates a gentle, multi-purpose herbal balm that works hard for the whole family, no matter the issue needing soothed.
Herbal Salve Basics: How We Made It
Making a salve at home is surprisingly simple, and it’s a great project to do with kids because it feels a bit like magic as liquid oil transforms into a soothing salve. And again, so many opportunities for well-rounded learning (more on that later)!
1. Infusing the Oil
We started with dried plantain leaves and yarrow blossoms. (Tip: Always make sure your herbs are thoroughly dried before infusing into oil to prevent any moisture from causing spoilage!) We placed the herbs into a glass jar, covered them with a gentle carrier oil (we used olive oil), and allowed them to infuse in a sunny window for several weeks. If you’re in a hurry, a warm water bath/double boiler on low heat for a few hours works beautifully to extract all that herbal goodness.
2. Straining
We strained the aromatic infused oil through cheesecloth into a clean container, squeezing out every last drop of liquid gold.
3. Melting & Setting
We gently melted natural beeswax and the oil together, mixing until completely melted and combined.
- Basic Ratio Rule of Thumb: We like a soft salve that is easy for kiddos to self-apply so we aim for roughly 1 part beeswax to 7-8 parts infused oil, depending on how firm you like your salve. Add more beeswax if you like it firmer.
4. The Pour
Carefully pouring the warm, liquid salve into small tins and glass jars is always a favorite step.
Pro-Tip: Laying down wax paper beneath your tins is a great idea if the kids plan to help pour—it saves your countertops from stray drips!
*Note: these are the tins we use: Aluminum Tins with Lids and Labels. They are a great size and come with lids and labels. And these Funnel Pitcher Measuring Cups work fantastically for pouring the liquid salve into tins (affiliate links).
What the Kids Learned Along the Way
Projects like this double as a rich, multi-subject learning unit without feeling like traditional schoolwork. Here are a few ways this project engaged the kids:
- Botany & Foraging: Identifying wild plantain and yarrow, understanding plant cycles, and learning how to properly dry herbs to prevent spoilage.
- Math & Ratios: Measuring out carrier oil versus beeswax to achieve our ideal 1:7 soft-salve consistency.
- Kitchen Science: Observing thermal changes as solid beeswax melts into warm oil, and watching liquid oil transform into an opaque, solid balm as it cools.
- Practical Self-Sufficiency: Gaining confidence in making useful, everyday remedies from natural ingredients right at home.
A Lesson in the Small Things
Doing projects like this with the kids is a gentle reminder of how rewarding slow, self-sufficient living can be. It turns a simple walk around the pasture or yard into an ongoing scavenger hunt for useful plants, and it teaches the kids to look at the landscape with curiosity, respect, and confidence.
Plus, the next time someone gets a small scrape or a bug bite, they get to say, “I know exactly what to do! I helped make the salve for that!”
Do you make your own herbal salves at home? What are your favorite herb combinations? Let me know in the comments!

 Radiant Roots
Leave a comment and let me know what you think!